SUMMARY
Some ideas on how to precisely determine the cut of flat metal for the configuration of a background. This system serves for any type of background or cover, both round and in another way and is based on practice.
INTRODUCTION
The exact determination of the cut-off value of the material necessary to form a metal container base is a function of many factors that affect the value of the same, we could cite among others: bottom design, type of material to be used (tinplate, aluminum, TFWS …), hardness and quality of the material, application or not of varnish on their faces, use of lubrication, etc.
So it is not a task that can be performed only by a theoretical procedure, using more or less complex formulas, always have to resort to the practical verification of the calculation. One way to perform the same is described below. This procedure is not the only one that can be used, but it is guaranteed by many years of experience, always with good results.
The steps to follow would be:
1º.- Determine the approximate theoretical value of the cutting diameter, for this the following process can be followed:
– Define the geometric shape of the background profile according to its destination.
– Calculate the length of the average fiber of the section of this profile, following a simple geometric determination of the length of the curl, wing, bucket and panel of this background. The center panel of the bottom can be considered as if it were flat. See figure # 1
Figure nº 1: Flat profile of a background
– The slight increase that supposes the depths of rings or tiers are negligible, since they are obtained by stretching of the metal.
– As for the height of the external curl, for the calculation must take the minimum value provided. That is, with the minimum tolerance, the range of the same is usually 0.2 mm.
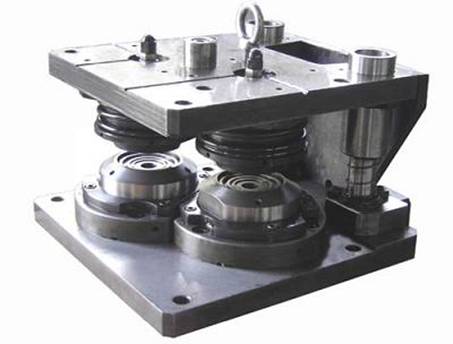
2º.- Construct the manufacturing die of said fund, but not completely. The center pieces can be finished, that is:
In the upper part you can finish:
– Center of the punch
– Ejector
– Complementary pieces (shoes, punch holder, etc.)
In the lower part you can finish:
– Interior matrix center
– Matrix center
– Complementary pieces (Base of the tool, etc)
– Lower pressure system
The pieces, which part of their measurements are a function of the value of the cut, can only be completed in the dimensions that it does not affect it. Therefore internal measures will be mechanized and reviewed, but the exteriors of the following parts will be left blank:
On top:
– Punch (Leave the outside diameter of the cutting lip in an oversize)
On the bottom:
– Presser ring (Leave the outside diameter of the lip over measure)
– Cutting blade: (Leave the area of the cutting edge under measurement)
This assumes that these unfinished pieces can not be thermally treated for the time being.
The clipping punch should not be done `until later.
A ring will be prepared to retain the ironing ring during the tests, making the function of the cutting blade in this regard. Its height will be lower than that of the cutting blade, so that it does not interfere with the punch lip during the tests
With this material will be mounted a temporary die for testing
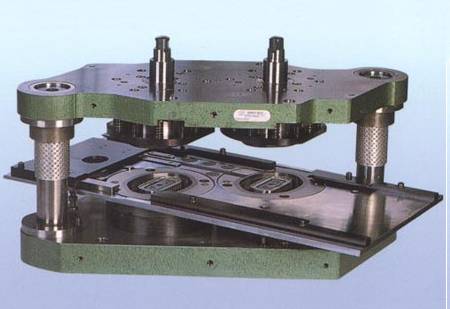
Figure nº 2: Pieces of a die of funds
3º.- Some sheets of material of the same characteristics will be prepared that will be used later for the manufacture of the bottom. That is to say, they will have the same thickness, tempering, varnishing, lubrication etc that those specified for this use.
4º.- On one of them, with the help of a compass of tips, or similar tool, with the greatest possible precision, draw a circle with the theoretical diameter of the cut calculated.
5º.- This disc will be cut manually, for example using sharp-tipped, curved-tipped metal cutting scissors. The cutting edge can be slightly revised its irregularities with a soft sandpaper. The actual value of the diameter of the disk obtained will be measured accurately. Measure it at several points and draw the arithmetic mean from them.
6º.- On a test press, the tool will be assembled in the conditions described above. If a test press is not available, a gooseneck hand press can be used. With other disc cuts of the material prepared lightly, it will be verified that the die works well and that the filling of the lid is correct in the height of the tray. If required, the necessary adjustments will be made.
7º.- The precision prepared disc will be positioned by hand with the greatest care possible on the ironing ring, making sure it is well centered and the bottom will be inserted.
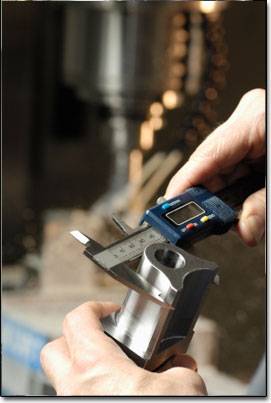
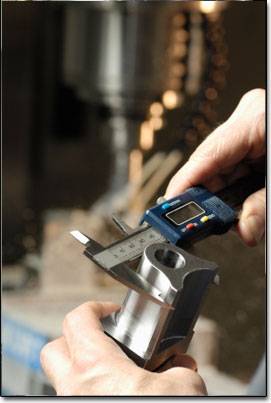
8º.- Take the measurements of the resulting fund, checking that everything is within specified. The key measure is the outer curl height of the wing. It is practically impossible that its value is uniform in all the contour of the bottom, for this reason it will be taken at least in eight points at 45 º and the arithmetic average of the readings will be taken.
9º.- This real average value of the curl height will be compared with the theoretical minimum value that the fund should have. Logically there will always be a difference. The double of this difference will be the value in which the theoretical cut initially calculated has to be corrected.
10º.- Repeat the entire process starting from the new corrected cut, until reaching the desired value. Normally the third time you get the right result.
11º.- Finish the die completely from the verified cut
Although this work is somewhat slow and arduous, it is worthwhile to be done because the results are the most satisfactory.






0 Comments