To disassemble and analyze the double sealing of a can, you can follow these steps:
- Cutting and removing the center bottom panel: Use a can opener or similar tool to cut and remove the center panel from the bottom of the can.
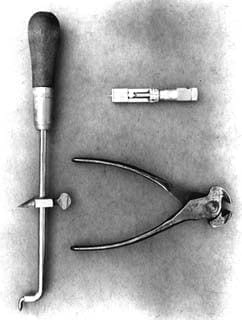
- Cutting two opposite sections of the fastener: Cut two opposite sections of the fastener with curved metal shears or a suitable tool.
You can then opt for two different methods to analyze the closure:
Method 1: Study by disassembly
3a. Removal by tearing the rest of the panel: Remove the rest of the panel carefully so as not to damage the fastener.
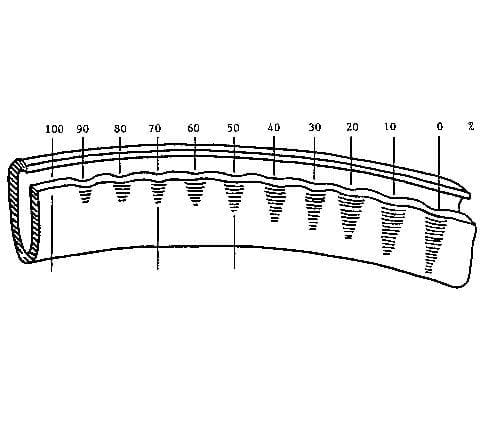
3b. Removing the bottom hook: Use pliers or other suitable tool to remove the bottom hook.
3c. Survey of disassembled seal elements: Examine the disassembled seal elements and make the necessary measurements with a caliper and micrometer.
Method 2: Projector study
4a. Fold back the produced sections and separate them from the package: Fold back the cut sections of the closure and separate them from the package.
4b. Even out the edges of the sections with fine sandpaper: Sand the edges of the sections so that they are even and free of burrs.
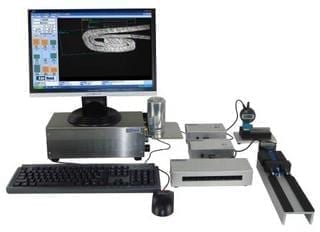
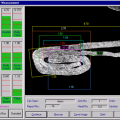
4c. Place the sections in the projector for evaluation: Place the sections in an optical locking projector (automatic or semi-automatic) that allows easy calculations using digital programs that enlarge a cross-sectional image of the double lock.
4d. Detach the cut sections from the bottom hook, for independent study of both hooks: Separate the cut sections from the bottom hook for independent analysis.
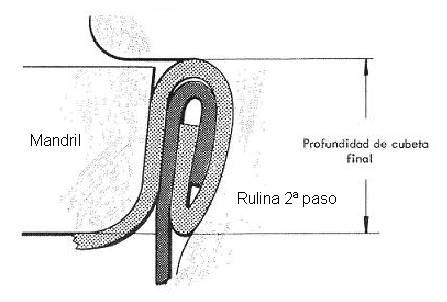
Once you have disassembled and prepared the closure, you can examine it and measure its dimensions, such as closure length, closure thickness and trough depth, to assess the quality of the closure.




0 Comments